Last week we visited a Steiner School a few hours drive away from our home and one of the small things I noticed was that every child had their own little crayon or pencil roll open on their desk. Theirs were crafted from fabric by the parents of the school but we love hand making them out of wool felt with a sweet little needle felted image.
Here is a basic tutorial to make your own!
.
.

.
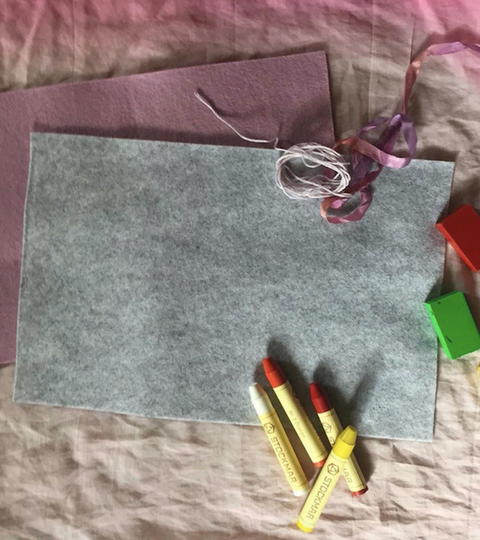
To begin you will need 2 sheets of wool felt, a needle felting kit, needle, thread, ribbon and don't forget your crayons or pencils you would like to fit the roll!
Shop our selection of art supplies here!
Firstly decorate the front of the roll with your beautiful needle felting, embroidery or applique work.
.


.
Firstly measure the longest crayon and place the inside piece of felt at the desired height. Pin in place. Divide the space equally in to the desired amount of spaces -we have 9 but we sell crayons in sets of 8 or 12 and pencils come in packs of 12.
.

.
Hand stitch like the image below to create a space for each crayon.
.

.
Fold up the rest of the remaining felt to make another little pocket for either block crayons or rubber, pencil sharpener etc.
Stitch in place using the same technique as above.
. .
.
 .
.Blanket stitch around the outside edge while catching the bottom and side edges of both pieces of fabric.
.
Catch the ribbon at the edge with the image. Add your crayons and roll!
.

2 Comments
This is really lovely and helpful.
Thank you Zoe !
It’s totally amazing! In love!